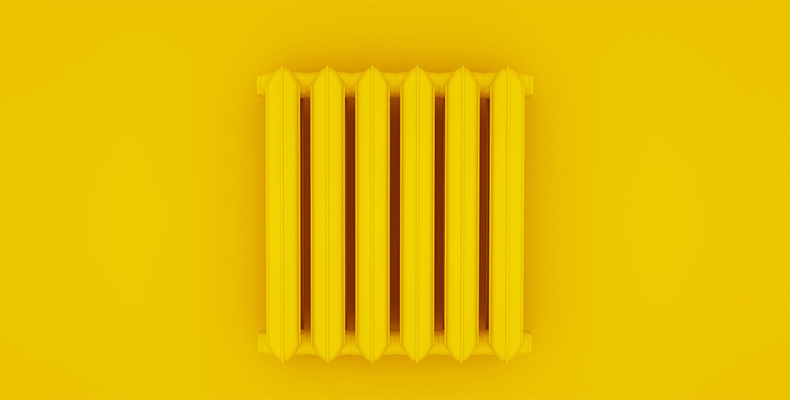
How to Paint a Radiator: A Step-by-Step Guide
Why Paint Your Radiator?
If your radiator looks outdated, has peeling paint, or doesn’t match your room’s décor, a fresh coat of paint can give it a completely new appearance. Radiators, especially older ones, can become an eyesore if the paint starts to chip or if rust begins to form. By repainting your radiator, you can refresh its look, match it to your room’s theme, and protect it from further wear and tear. A properly painted radiator also ensures that it continues to distribute heat efficiently, without any hindrances caused by layers of old, flaking paint.
How To Prepare a Radiator for Paint?
Step 1: Turn Off and Cool Down the Radiator
Before painting, it is crucial to turn off the radiator and allow it to cool down completely. Painting a warm radiator can cause the paint to dry too quickly, resulting in an uneven finish and potential bubbling. If your radiator is part of a central heating system, make sure to turn off the heating for the entire house or isolate the radiator from the system, if possible. Waiting for it to cool might take a few hours, but this step ensures that the painting process goes smoothly and leads to a professional-quality result.
Step 2: Clean the Radiator
A clean surface is essential for achieving a smooth and durable paint finish. Use Bird Brand Sugar Soap, a powerful cleaning agent, to remove any built-up dirt, grease, or grime from the radiator. Dirt and dust can interfere with the adhesion of paint, leading to an uneven coat. Apply the sugar soap solution with a damp cloth or sponge, scrubbing any stubborn spots thoroughly. Once cleaned, wipe down the radiator with a dry cloth to ensure all residue is removed. Allow it to dry completely before proceeding to the next step.
Part 2: Priming and Painting
Step 3: Sand the Surface
Sanding the radiator is a critical step that ensures the new paint adheres properly and creates a smooth, even surface. Using 120-Grit Sandpaper, carefully sand down the entire surface, focusing particularly on areas where old paint is peeling or chipping. This process removes any loose paint, smooths out rough patches, and helps the primer bond better with the radiator’s surface. After sanding, use a damp cloth or vacuum cleaner with a brush attachment to remove any dust and debris, ensuring a clean working area before moving on to the priming stage.
Step 4: Remove Any Rust
If your radiator has visible rust spots, it is essential to treat them before painting, as rust can spread over time and ruin the finish. Apply Rust Remover, which chemically converts rust into a stable surface ready for painting. Use a brush or cloth to apply the rust converter to affected areas, allowing it to dry as per the manufacturer’s instructions. This step is vital for ensuring a long-lasting and durable finish, preventing rust from reappearing beneath the new paint. Once the rust treatment has dried, lightly sand the area again to smooth the surface before applying primer.
Step 5: Protect Surrounding Areas
Before you start priming and painting, it’s important to protect the surrounding areas from paint drips and splatters. Cover walls, floors, and any nearby furniture with Dust Sheets, and use masking tape around radiator valves and wall edges to create clean lines. If possible, remove the radiator from the wall for a more thorough paint job, but if that’s not an option, place a large piece of cardboard behind it to catch any drips. Taking the time to prepare your space properly will make the clean-up process much easier and ensure a professional-looking finish.
Step 6: Apply a Primer
A good primer is essential for improving paint adhesion and ensuring an even finish. Use Metal Primer, which is specifically designed to protect metal surfaces and enhance the durability of the topcoat. Apply the primer using a high-quality brush or a small roller, making sure to cover the entire radiator with an even layer. If using a spray primer, hold the can about 15cm away and apply in light, sweeping motions. Allow the primer to dry completely for at least 24 hours before proceeding with the painting.
Step 7: Paint the Radiator
Once the primer has fully dried, you can begin painting your radiator with a heat-resistant, durable paint. Metal paint for radiator is an excellent choice, as it is specifically formulated to withstand high temperatures and prevent discolouration over time. Use a small brush or roller to apply the paint in thin, even layers, starting from the top and working your way down to avoid drips. Avoid applying too much paint in one go, as this can lead to an uneven finish. Instead, use multiple thin coats for a smooth and professional look.
Step 8: Let the Paint Cure
After painting, allow the radiator to dry for at least 48 hours before turning it back on. This waiting period ensures the paint has fully cured and prevents any unwanted bubbling or peeling due to heat exposure. Once fully dry, gradually turn the radiator back on at a low setting to help the paint settle. If you notice any imperfections, you can lightly sand and touch up those areas with additional paint. A well-painted radiator not only looks great but also extends the lifespan of the unit, keeping it in excellent condition for years to come.
Step 9: Turn the Radiator Back On
Repainting one area? We can scan colours from a sample to get a match.
We can help you to estimate how much paint you will require